DIY: Desktop Photography Studio
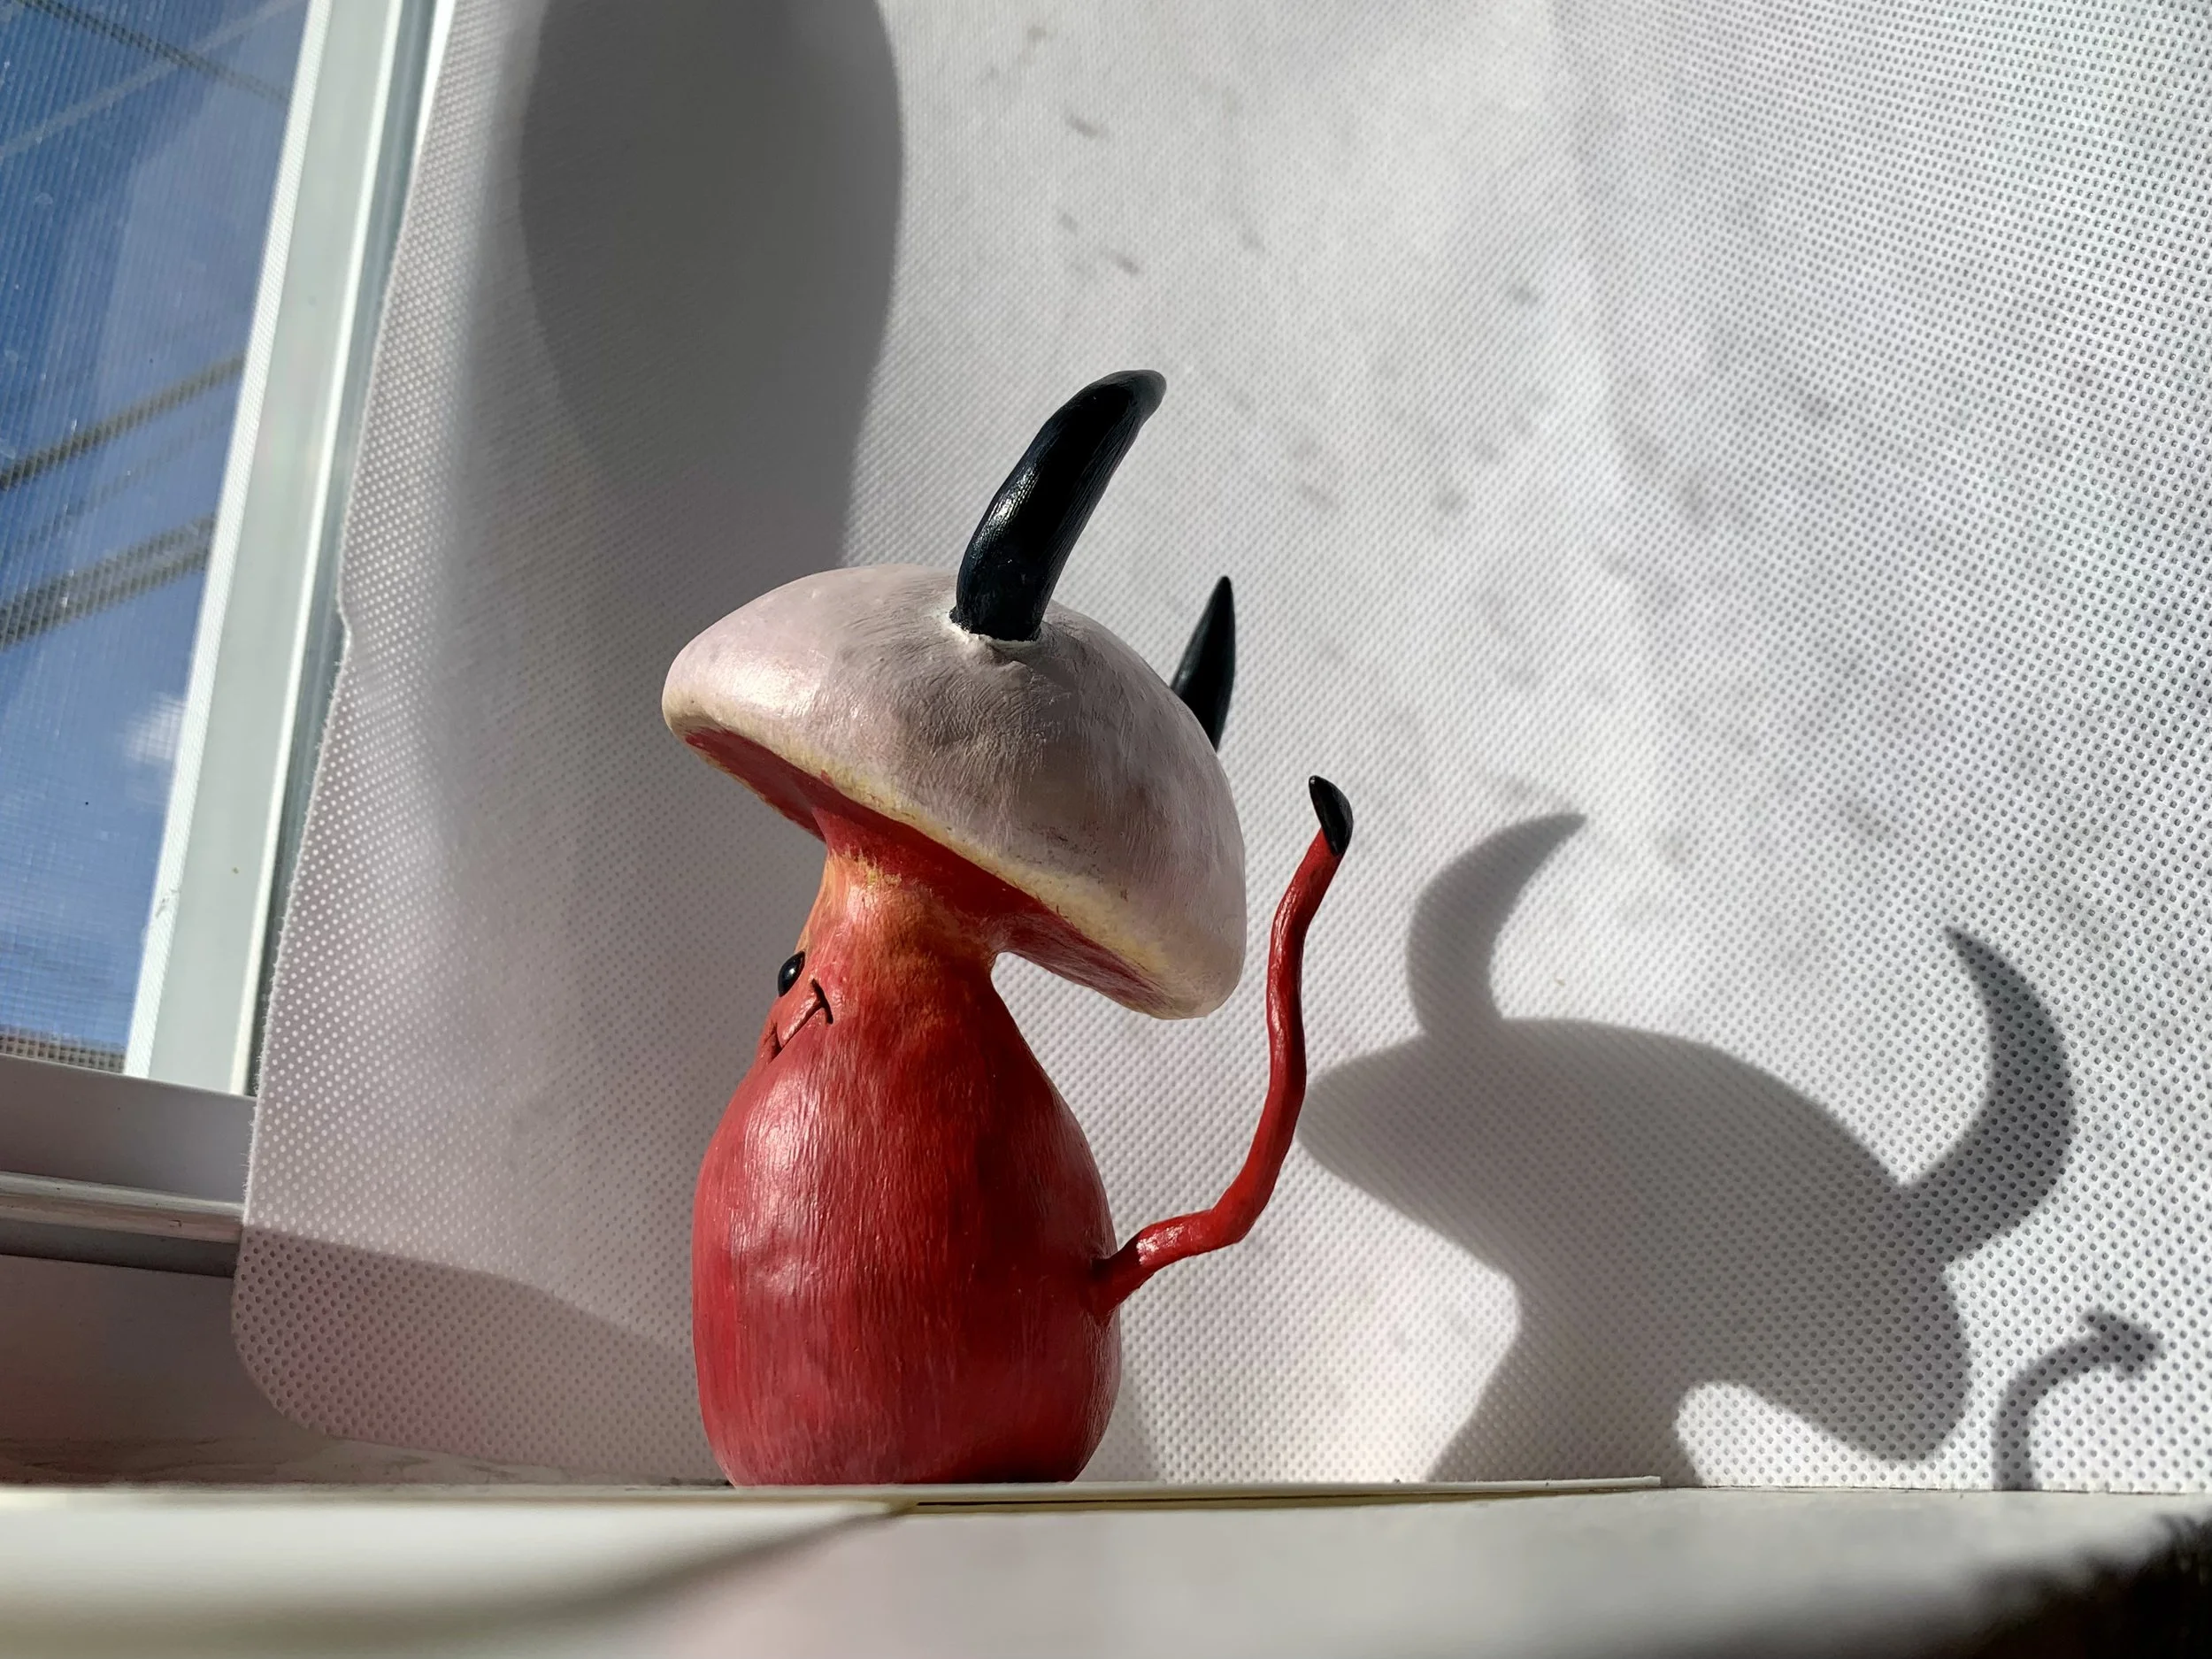
Every creator has experienced the struggle of searching for the right lighting to showcase their finished work. We’ve gone outside and used our lawns as backdrops, but then have to rely on good weather to make it happen (and be okay with our hands in the photos). We’ve propped up next to windows chasing the right hour of the day, but have to make strange crops to exclude the neighbors in the background… not to mention the editing- a tedious effort of white balancing an hour of steadily changing light into a cohesive shoot (with mixed results).
It’s my goal this month to make professional product photography attainable for anyone willing to spend a little time DIYing this desktop studio setup, so you can bust it out whenever your project schedule needs it, weather be damned!
“What are you looking at?”
“…The neighbors.”
Getting started
I first tried using a collapsible studio box from Amazon with built-in adjustable lighting (link: https://www.amazon.com/gp/product/B082HR6MFS/ref=ppx_yo_dt_b_search_asin_title?ie=UTF8&th=1 ); but if you’re working with a glossy surface (like stickers), the LED lights can create strange reflections in your items and the overhead lighting has also proved not to be a universal solution for strange shadows either; multiple light sources is KEY. I’ll leave it to you to decide which lighting options fits your budget, but will link the products I’ve found that keep the whole project around $50.
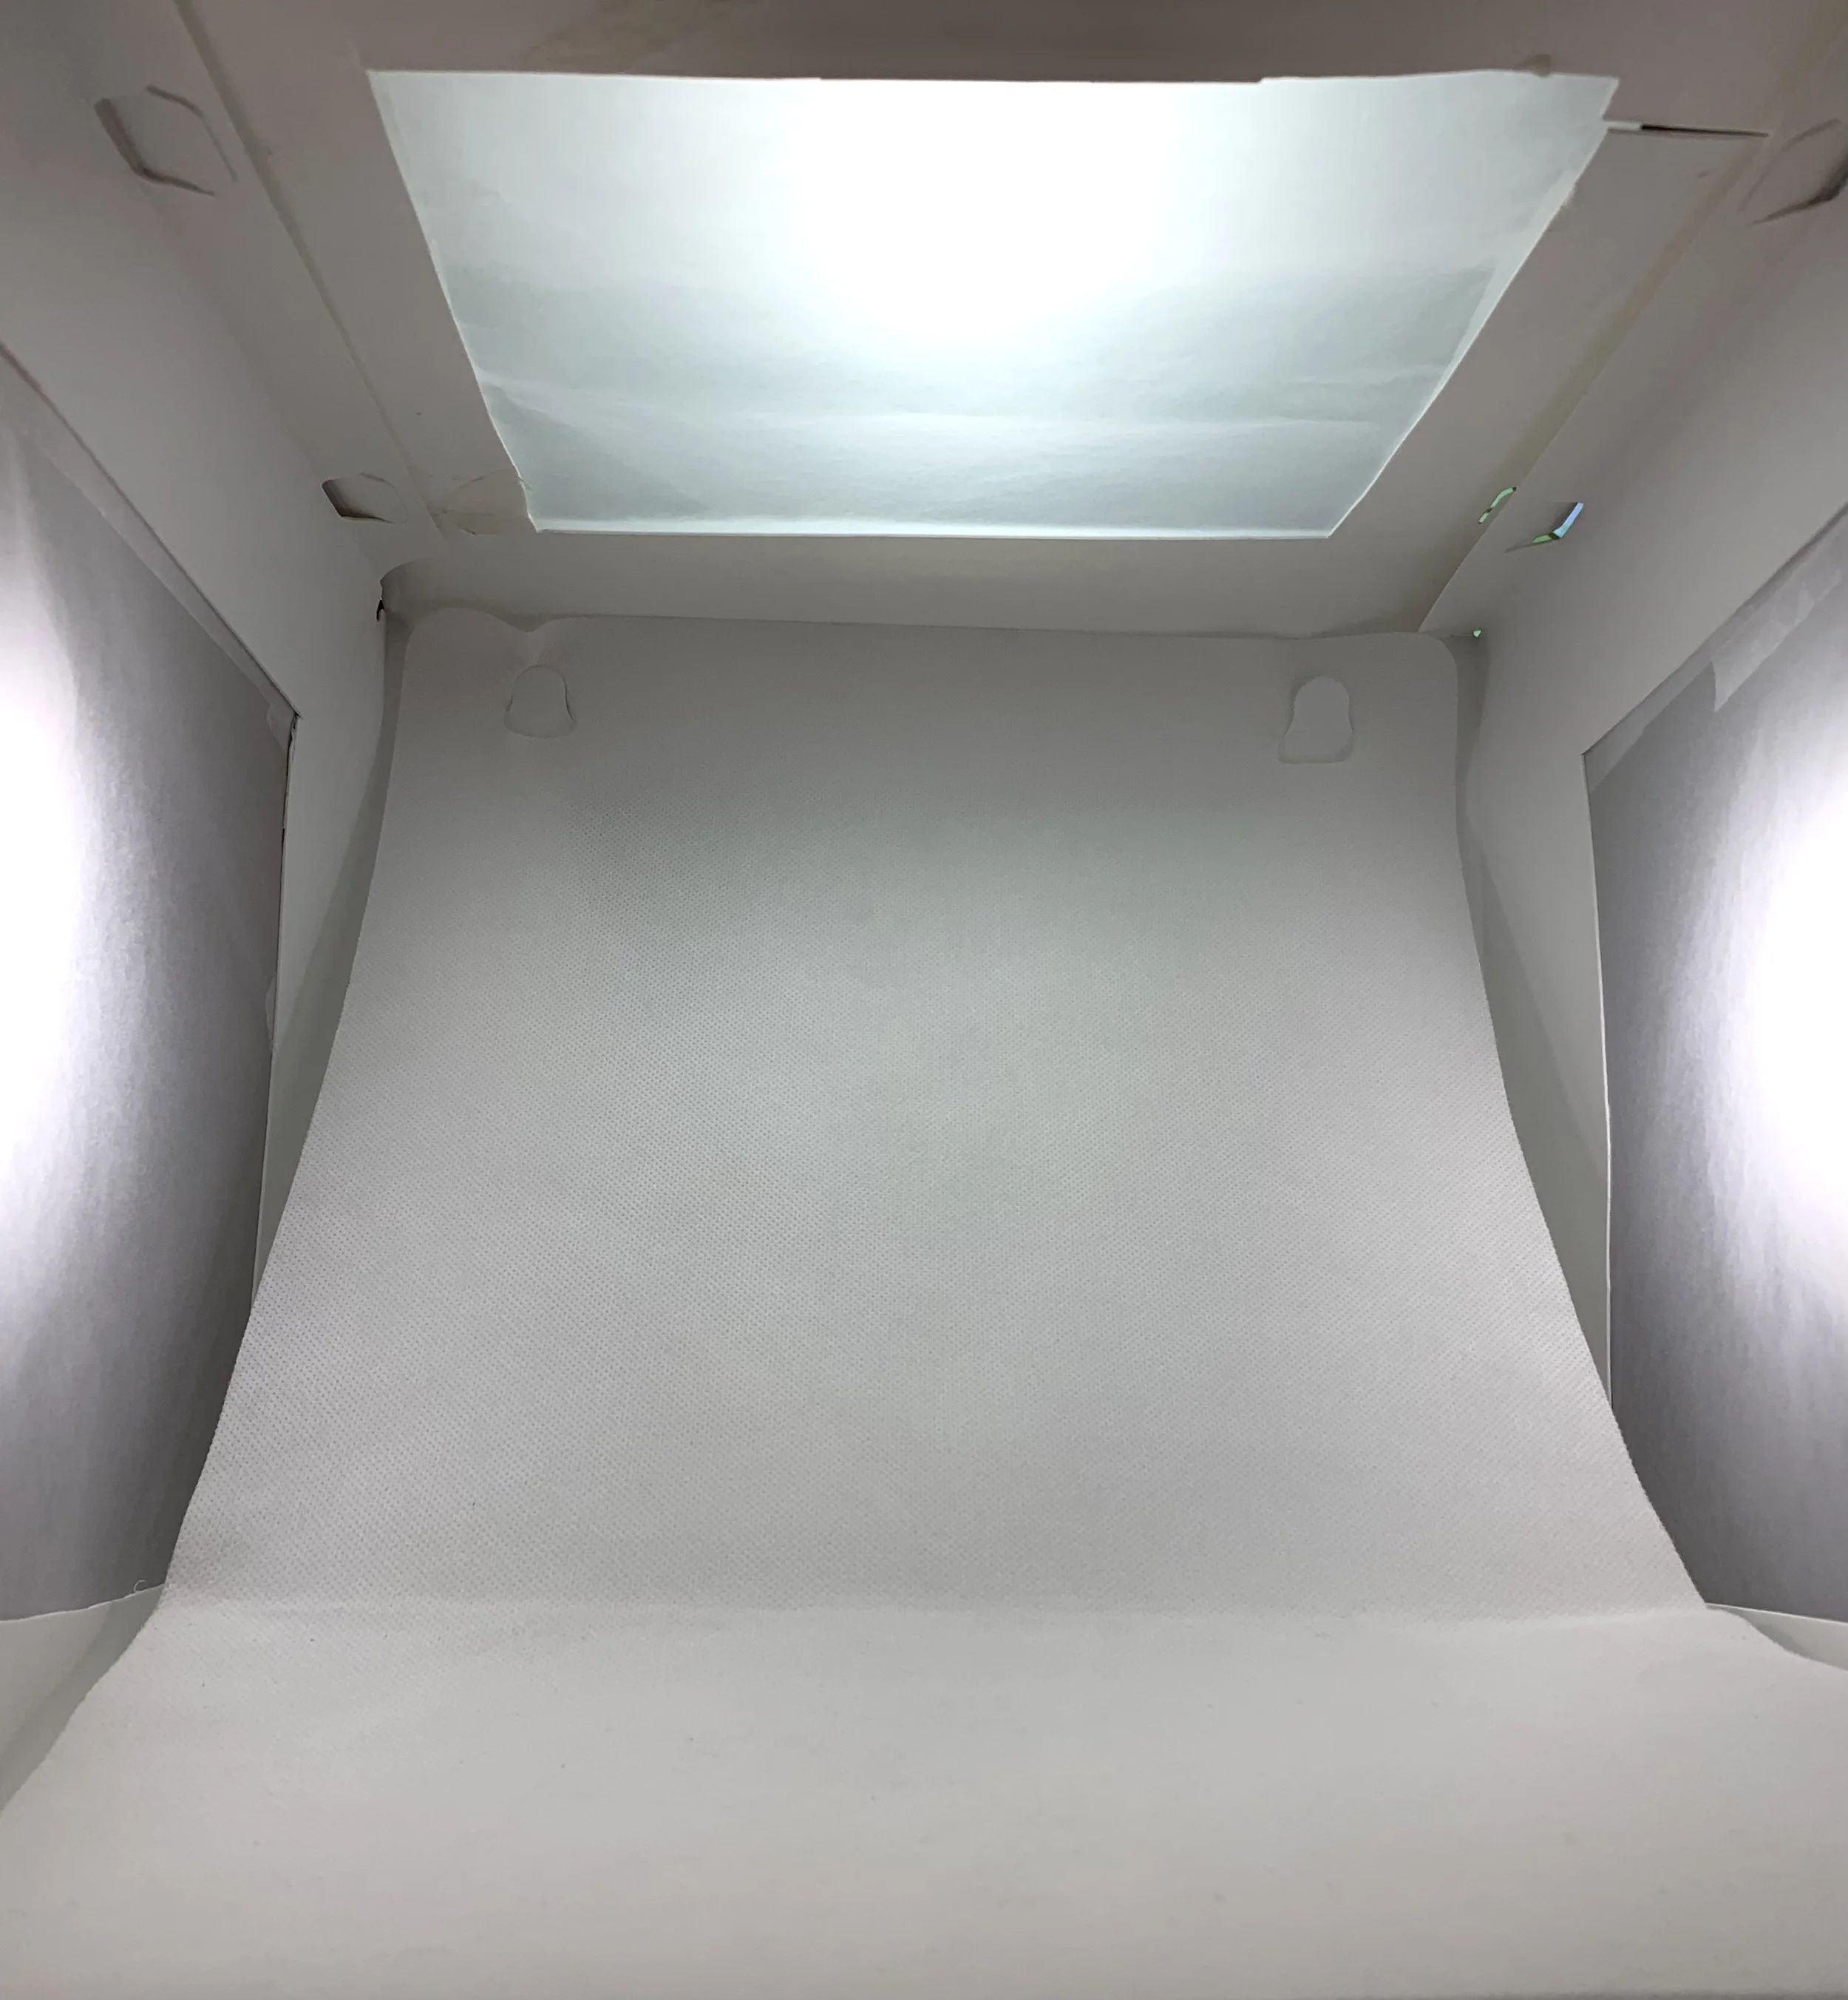
The first thing you’ll need is a white box with your dimension requirements (in this tutorial I’m working with a 12”x12” cube situation). I modified the aforementioned light box to suit my needs, removing the LED ring and cutting out the majority of the top and walls to let the outside light filter in, but that can easily be recreated with a cardboard box and some white paint to save yourself the $20; I plan to make a larger diffusion box in the future using this method as well.
The idea here is to have a solid bottom panel connecting four sturdy framed windows on the top, back, and both sides, with the front panel entirely open for you to access and photograph from. If you’re using an old box, you’ll turn the opening toward you, cut away the extra flaps, then measure and cut large squares out of the back (formerly bottom of the box), both sides, and the top, leaving a margin of cardboard about an inch or two tall around each square so the whole thing doesn’t wobble (the larger the box, the more of a margin you’ll want to leave to preserve the structure). And if you're extra crafty, you can also reinforce the corners with wooden or acrylic dowels for added sturdiness. Once you have your windowed box painted white, you’re most of the way there!
Next, we’re going to cover up those new windows using tracing paper or vellum to let in some filtered light that the cardboard would have otherwise blocked out. You can either tape or glue the sheets to the inside of the box, (but I recommend using tape and not glue for the top panel so you can pull it back for some top-down shots of your product, if needed). **I attached my sheets to the outside of the box, but have to use a fabric backdrop to hide the seam where the paper meets the box… live and learn!
[if you want to hang a fabric background as well, be sure to choose one thin enough to let light pass through, and simply cut tabs into the top of your back panel’s frame, then measure/slice the respective slits into your fabric, easy peasy.]
Completing this step will leave you with a delicate little light diffusion box with front access for photographing!
Lighting
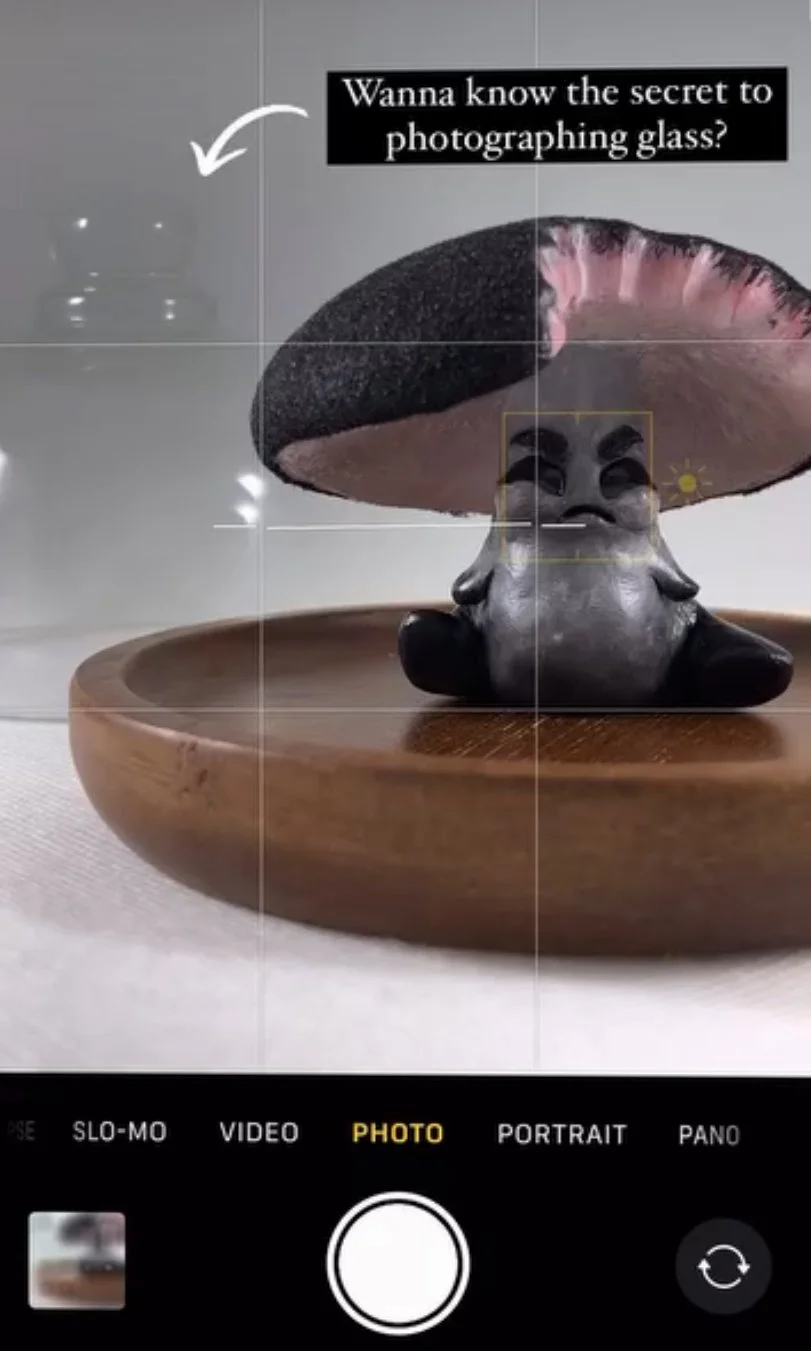
Now that we're able to control how much light we let in, and from where, it's time to talk about lamps. I recommend at least three light sources- left, right, and top. I’ll also share some lighting tips about photographing transparent objects like glass and how to arrange your light sources to best capture the edge without losing the foreground using your new desktop studio.
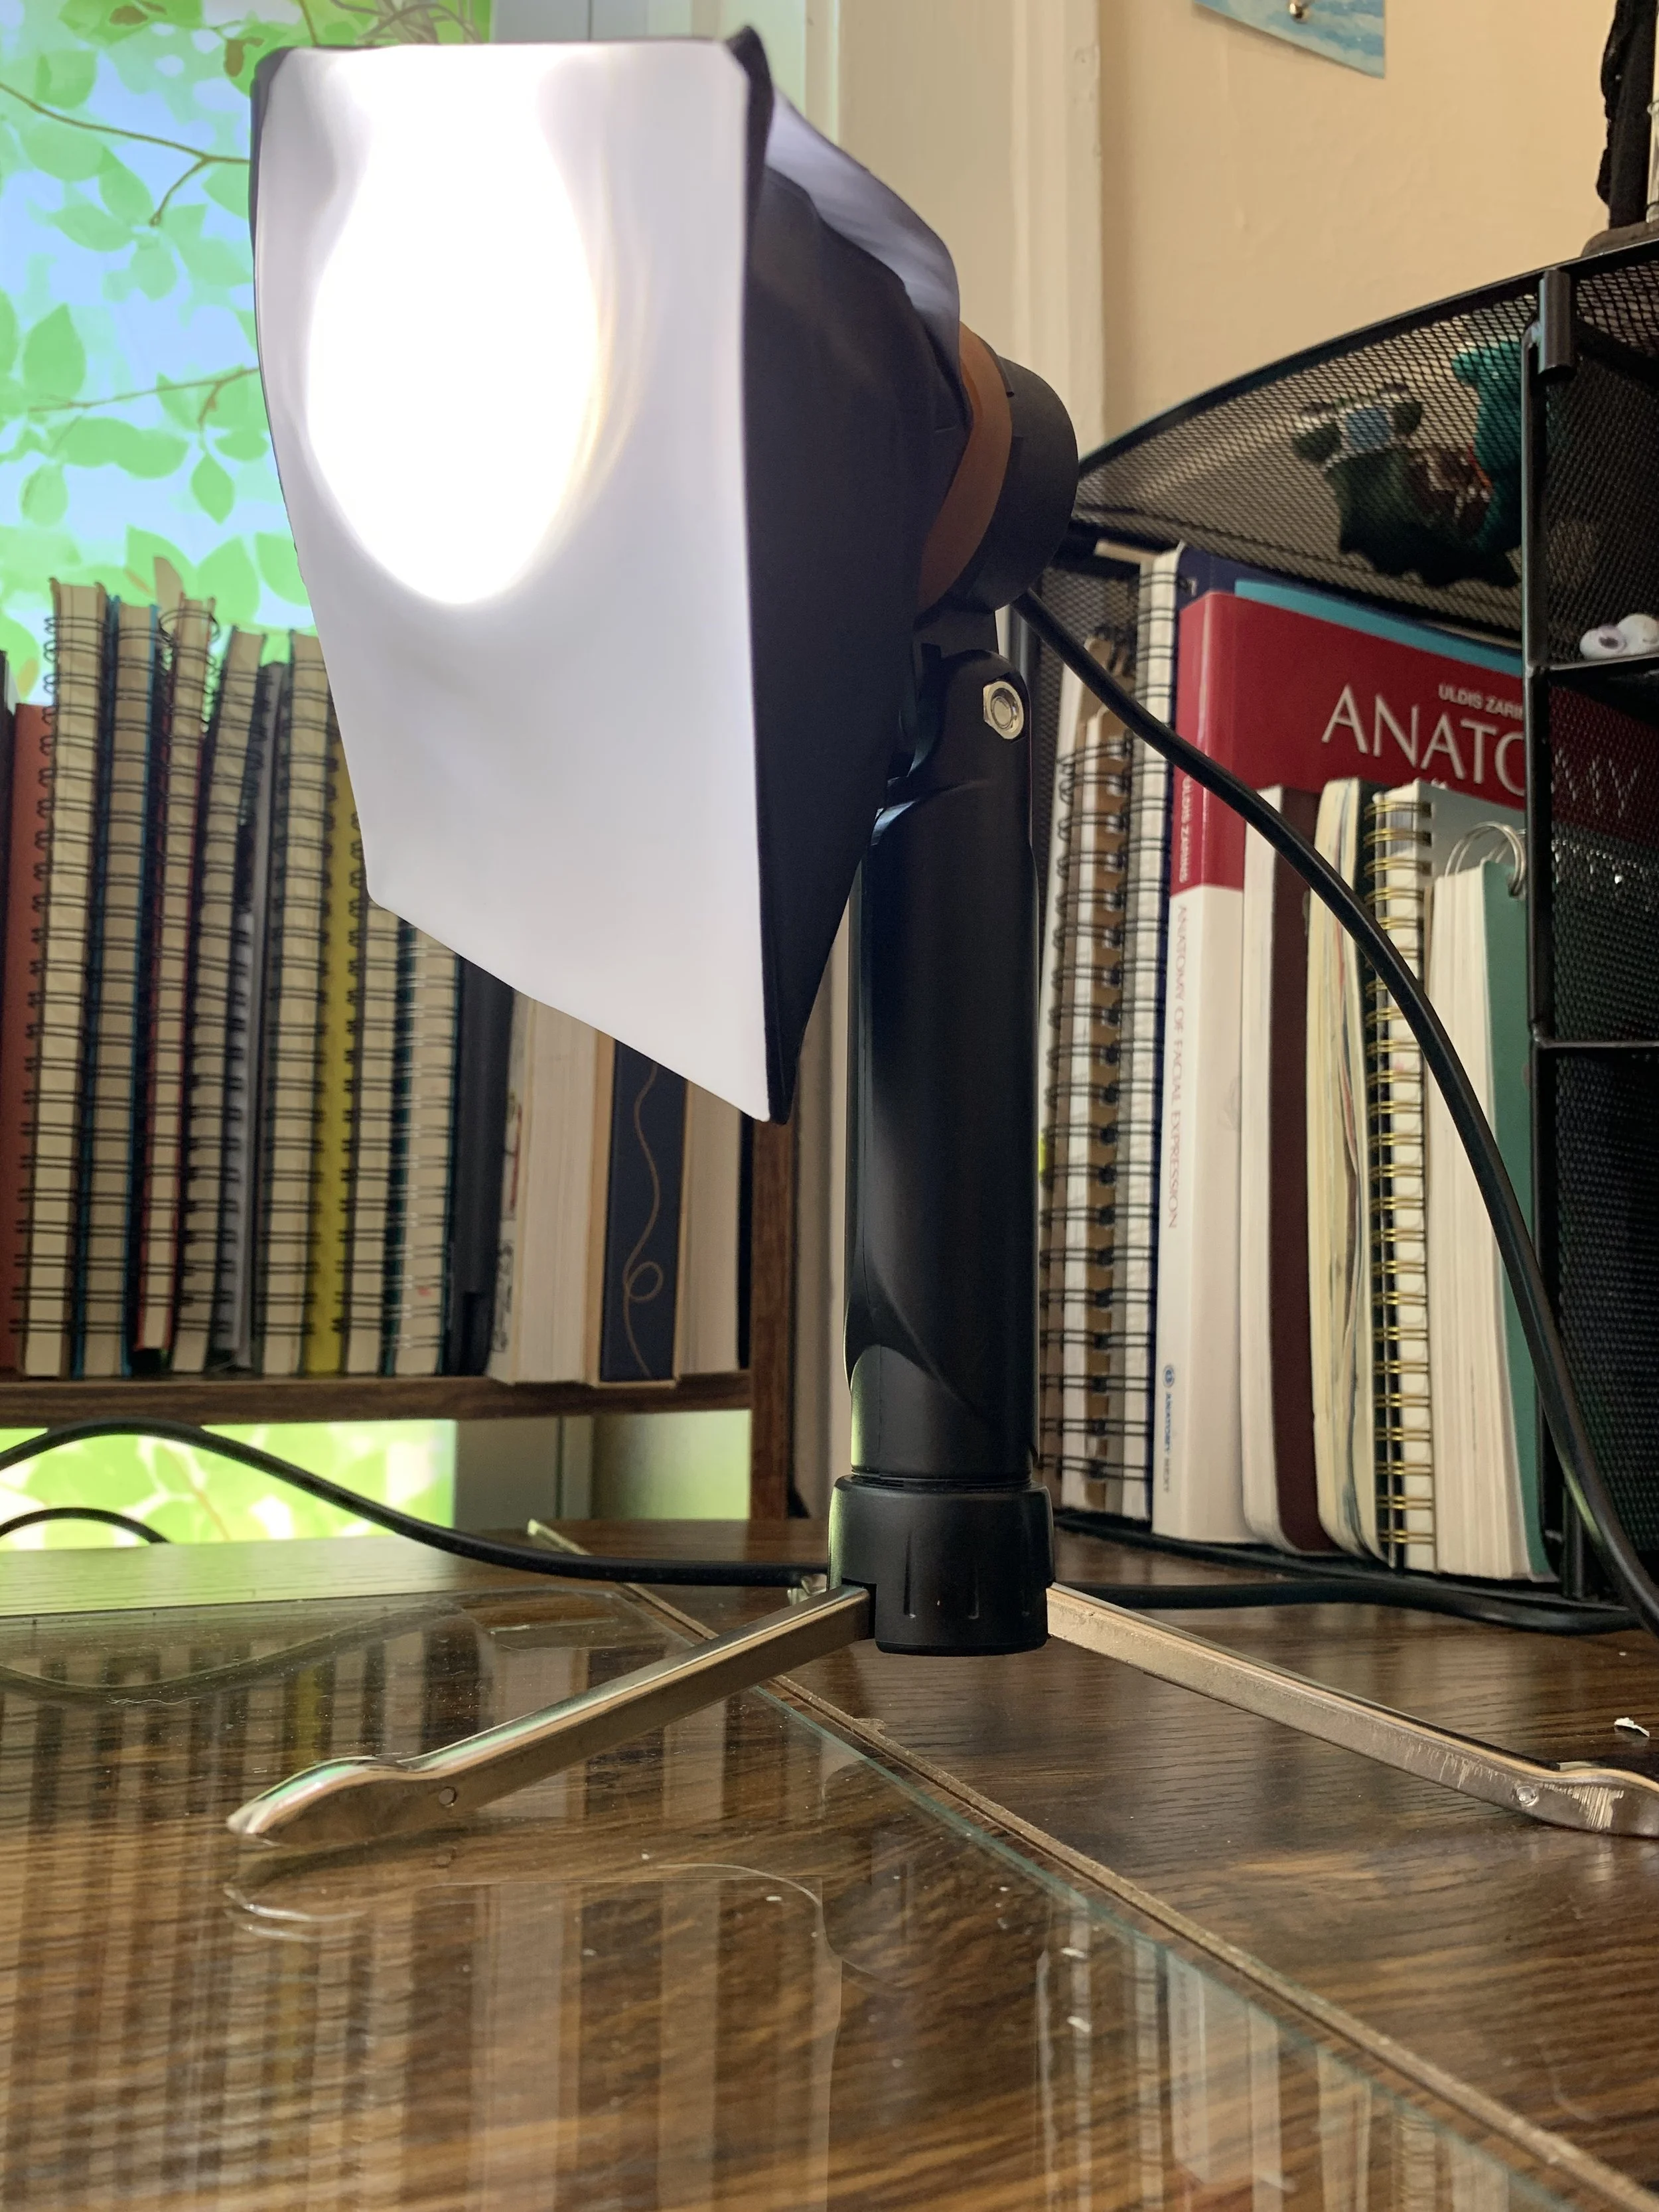
In the spirit of keeping it simple, I’m linking some freestanding lamps with included diffusers that attach directly, but I’m sure there’s something less fiddly available if your budget allows for fanciness.
https://www.amazon.com/gp/product/B07S38YRGB/ref=ppx_yo_dt_b_search_asin_title?ie=UTF8&th=1
^ Here are the lamps I’m using; they cost less than $30 for a set of 2 (white light, not warm white- that’ll give everything a yellow cast).
With identical lamps now set up on either side of your diffusion box, you won’t have to worry about those frustrating top-down shadows from the overhead light; it also provides the indirect lighting needed to avoid reflections on your glossy stickers/etc.
Photography tips
The key to photographing transparent objects is backlighting, and with your new setup, this is no problem. Just move your overhead lamp to shine in from behind the back panel, adjusting your side lamps as needed to light the foreground to your liking, and you’ll see the the entire outline illuminate without obscuring the foreground in shadow.


